Initially, there is a scene with a background:

Step 1: Create a GUISkin
Right click your mouse under project tab, choose "Create" -> "GUI Skin"

Drag the material pictures into the proper position

Then pull down the scroller bar and find "Custom Styles", put the other material into Element0 and assign the name as "easy"

Step 2: Write a script to show GUI and Drag it onto "MainCamera"

Step 3: Assign the startGUISkin with GUISkin in assets which we have already created in step 1

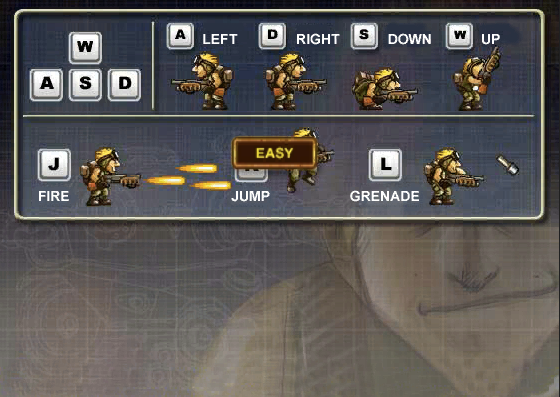
Step 4: Run and See

NOTE:
- All the GUIs should be written in the OnGUI() function, which is called every frame.
- GUI.Button(Rect,"label") use the default button skin. However, we also can use "Custom Styles" by writing GUI.Button(Rect,"label",GUI.skin.GetStyle("name")) .
- If you want to hide GUI, then just set a boolean variable to controller it. Once the function doesn't run the GUI.Button(), the button will not show on the screen.
- If(GUI.Button()) is a most widely used way to judge whether a button is clicked or not.
- BTW, you can also modify the GUI.skin without assign a new GUISkin to it.
No comments:
Post a Comment